
You could have the best camera, lenses, and three-point lighting and still miss the mark with your videos because of one simple fact:
Fancy equipment doesn’t guarantee you a good video.
You can have the most expensive, high-quality camera in the world, but if you don’t know basic composition, your scene is still going to look bad.
That doesn’t mean you can’t create videos on a budget. You just need the right tools and techniques to do so!
This post covers 5 easy steps to making great content no matter what equipment you have!
How AI makes video production cheaper
Compared to traditional filming, AI makes video production faster, more affordable, and easier to scale. With an AI video maker on your side, you can put together video content in minutes and, if necessary, edit any element just as easily.
All with no equipment. Here's how:
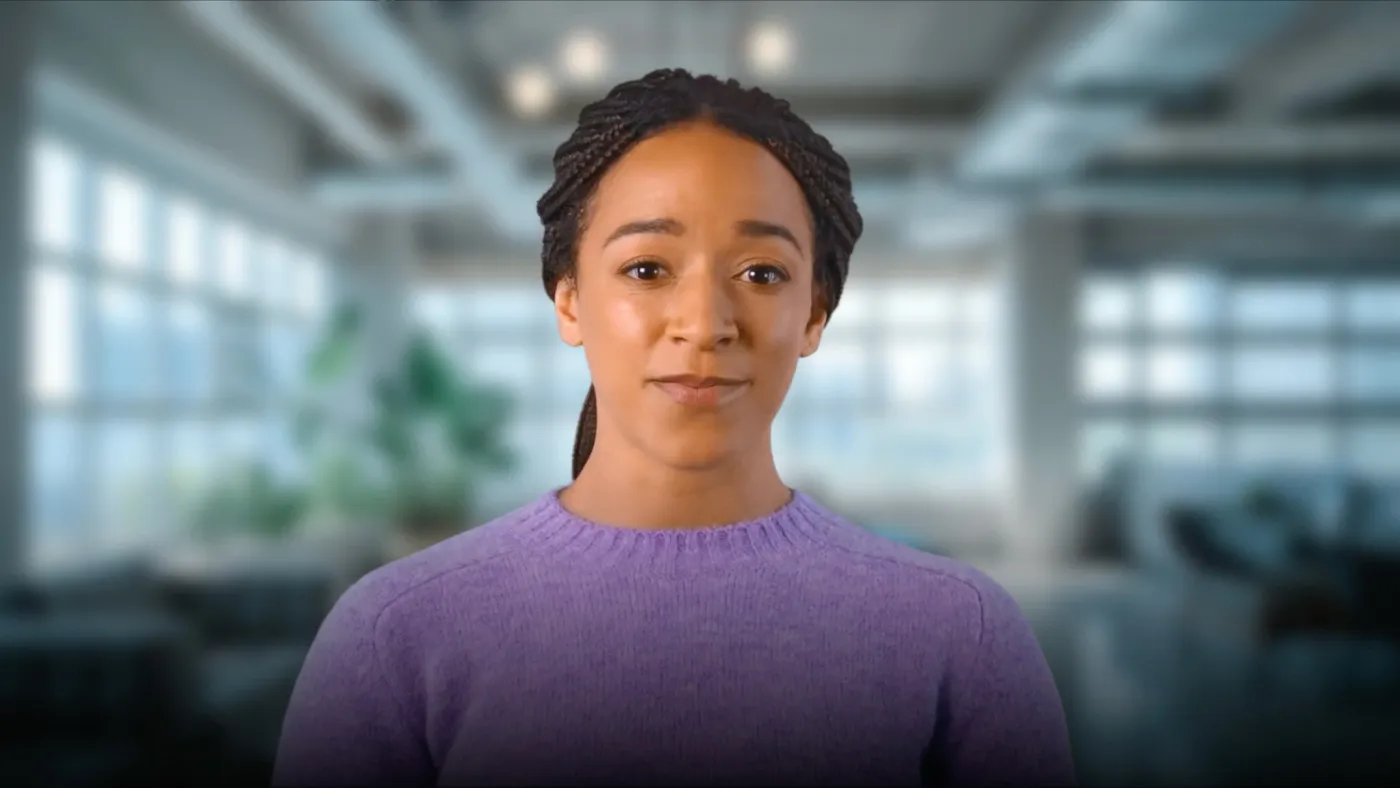
AI video editing software uses artificial intelligence algorithms and machine learning techniques to generate videos automatically. Software like Synthesia gives you access to all the puzzle pieces comprising a video:
✔️ Templates — Built for specific use cases by experienced designers following professional design principles
✔️ Diverse AI avatars — Created to represent young/mid-age/mature persons of different nationalities, wearing casual/business attire
✔️ Languages & accents — female/male voiceovers in great audio quality with various accents, dialects, and styles, sounding almost as natural as real human voices
✔️ Stock footage & music — royalty-free media assets from websites like Shutterstock and Unsplash and royalty-free background music, plus the option to upload your own soundtrack
✔️ Other design elements — interactive texts, images, shapes, transitions, animations.
Within Synthesia’s video maker, you can select your desired template, upload your brand identity assets, and customize the template by pasting your text and visuals in the dedicated placeholders. Alternatively, you can create your template from scratch, designing each scene you want your video to include.
The 5 easy steps to create high-quality videos on a budget
Below, you’ll see the exact steps required for creating a catchy video with the Synthesia AI video maker without worrying about your audio setup or whether you have a DSLR camera.
Whether you're doing video marketing or creating a training course, it’s as easy as picking your template, duplicating, and customizing it.
Step #1: Find the best template for your target audience
Synthesia offers you a library of 60+ predesigned templates oriented toward training, how-to, and product marketing videos.
Each one is a sequence of scenes with different visual elements, such as background images, text overlays, and animations, arranged in a specific order to tell a particular story. Subcategories include anything from how-to videos, to HR compliance training to internal company reporting.

|
Selecting a built-in template will ensure that your video is visually appealing and follows best practices for video creation, which can help increase engagement and reach. Once your template is selected, you can customize it with your brand elements and learning material.
Step #2: Use the template to plan your video
By now, you have an idea of how your high-quality video will look. So, it’s time to come up with your own content to fill in the placeholders comprising your chosen template. You can break that down into two categories: script and supporting visuals.
Script
While it’s tempting to type your text as you go, set time aside for the actual planning and script writing.
Professional videos don’t just look good but also convey a clear, actionable message and keep their audience engaged. And the best way to ensure all that is to pair your template with relevant content — both text and visuals.
So, planning your video involves deciding on your actual script content and selecting the visuals you’ll use in the video.
When you’re done writing your script, revise it to make sure it contains all the four elements of a quality production described in this video 👇
Supporting visuals
Supporting visuals are anything you need to add to the video to get your point across. Typically this includes photos, animated graphics, and recorded video clips for demonstrations. In most cases, content for social media videos and youtube videos doesn't need an ultra-high video resolution. A simple SD or HD recording should work perfectly.
Step #3: Duplicate the video template in your Synthesia account and insert your script
From the templates library, select the template you chose for step #1 and hit the “Create video” button. You’ll see each slide that forms the template, with all the editable elements displayed in an easy-to-edit format.

|
Step #4: Continue the template customization with visuals, transitions, music, and other effects
Copy and paste the text you put together in step #2, inserting them on each slide as you see fit.
Synthesia will automatically turn the text into a voiceover complete with an AI presenter. You can change the voice, accent, language, and look of your human avatar at any time. There are hundreds of combinations to choose from during the editing process, so feel free to experiment with a few different options.

|
Next, customize your template as you see fit. You can easily upload your own branding assets like logos and brand colors, and edit visual elements just as you would a normal slideshow. Advanced software doesn't have to be hard to use! It's simple to drag and drop the assets you prepared in step #2 into the video.
See what you can do with an AI video maker in the next 5 minutes
Ready to save up to 80% of your time and budget while producing professional-looking videos?
Make a free AI video using just your internet browser, in the following minutes.
About the author
Strategic Advisor
Kevin Alster
Kevin Alster heads up the learning team at Synthesia. He is focused on building Synthesia Academy and helping people figure out how to use generative AI videos in enterprise.


